Comprehensive homelab CI with Komodo
I didn’t start out trying to build a homelab. I started off with a few apps running on a headless Dell office computer. But as time went by and I dove into the self-hosting rabbit hole, I ended up with over 25 Docker containers running on four different machines, all with different configurations and docker-compose.yml files in different locations. Surely there had to be a better way to manage things…
Enter Komodo
Komodo is an open-source self-hosted container management platform for Docker. It’s the most mature free solution for managing different services across multiple hosts, and it has droves of cool convenient features that make it a good solution for anyone from hobby self-hosters to large-scale teams to manage container setups. I was aware of Komodo pretty early on in my self-hosting journey, but at that point I had already constructed several containers that were in their own folders with haphazard configurations and scattered mapped volumes. Committing to organizing all of my containers in a piece of software seemed both limiting and risky - what if I didn’t like using Komodo? Would I be locked into it? Would it limit how I could configure things? So I left my setup alone, and Komodo was all but forgotten in my mind.
Fast forward about a year later, and my homelab was a mess. I have over 25 containers that I run on one local server and three Oracle Cloud Always Free cloud VMs. Every single time I had to perform any maintenance on a service, I’d have to remember which host the service was on, SSH in, and use Docker commands (which I have a bad habit of forgetting) to work on it. I dealt with that for a while, and it wasn’t a terrible solution. I managed to memorize where everything was pretty well, but every now and then something would break that I couldn’t remember, and I’d have to reference my Trilium instance, which is where I self-document my homelab. Thankfully, I stumbled across Komodo once again and decided to take another look.
How does Komodo work?
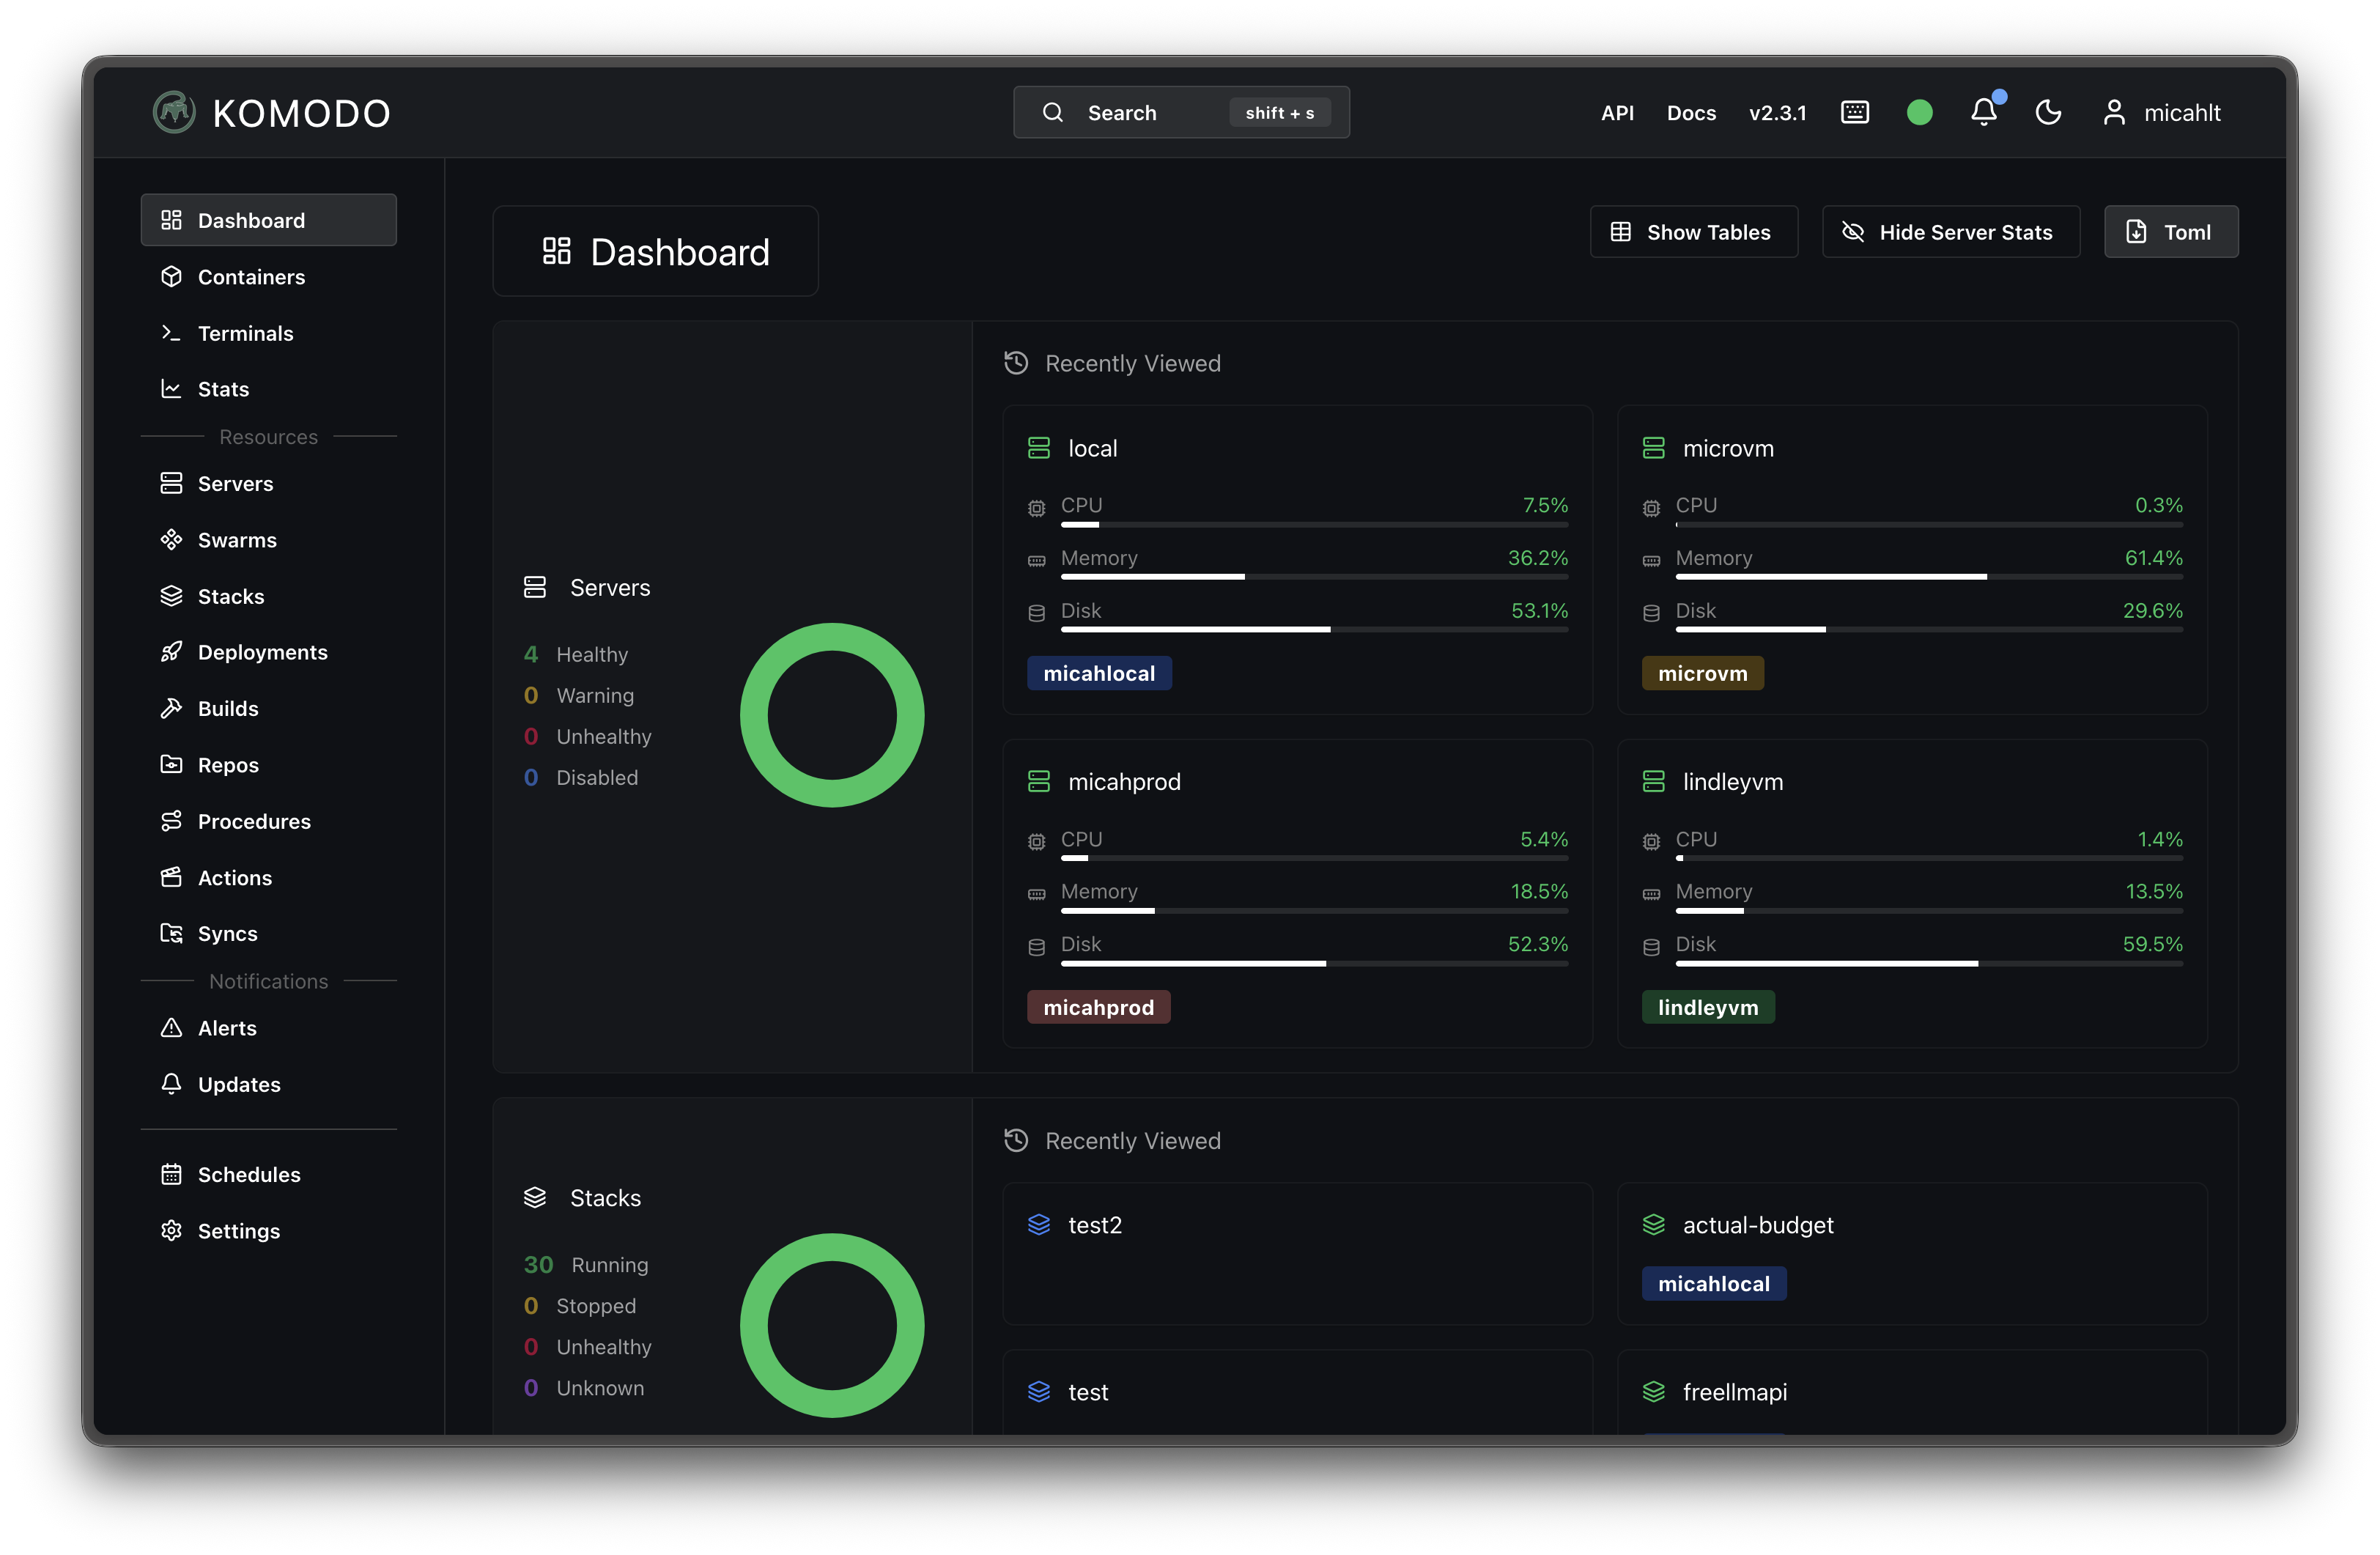
There are a bunch of different ways to use Komodo, which makes the documentation for it somewhat tricky to understand. The basic idea is that you have Resources, which are essentially things like Docker Compose stacks, different server hosts, automated Dockerfile builds, custom actions, and other things that can all be configured in Komodo’s UI. All of these things can be configured to be stored either in a Git repository, on your filesystem, or exclusively in the Komodo interface. These configurations are stored in .toml files, so they can be backed up too. The ability to choose which mode is nice, but in my opinion Komodo is at its best when you put everything in Git. That way, even if one of your host machines dies entirely, all you have to do is install Komodo, point it to the right repository, and click sync.
Is it really that simple?
Not quite. Setting up your entire homelab to be controlled by Komodo can be a tricky process. The software is flexible enough that you don’t have to do it any particular way, but I’ll lay out what made the most sense to me.
1. Set up all the hosts
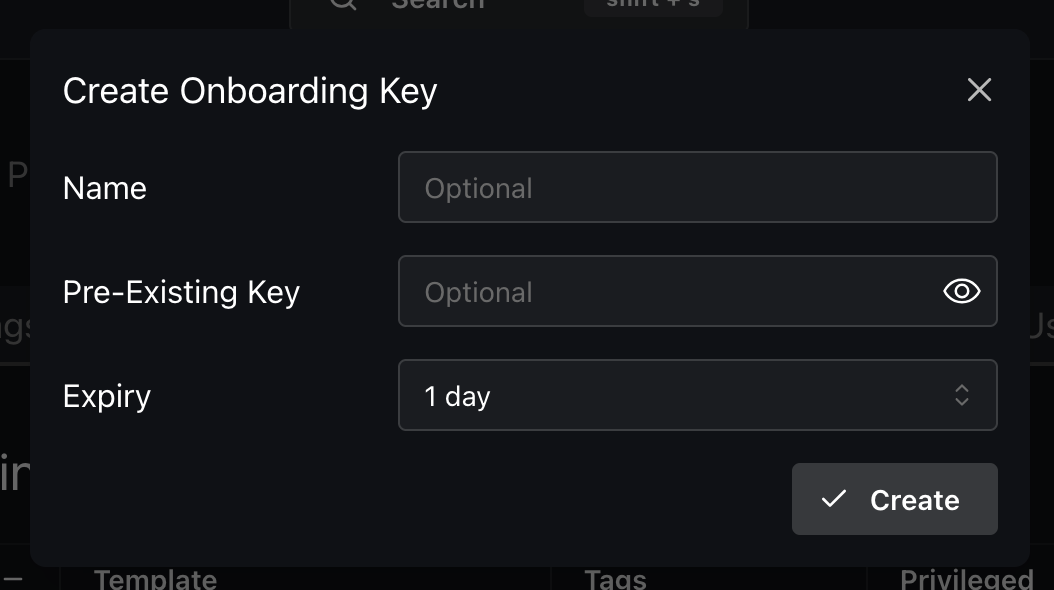
You have to install Komodo Core on one “primary” machine. I chose my local server as the primary machine. Once you’ve gone through the setup process in the UI, you can navigate to Settings → Onboarding and create an Onboarding Key. This lets you connect Komodo to other servers using its client controller, Periphery. I installed Periphery as a systemd service on my three Oracle Cloud machines, connected them with the Onboarding Key (side note: it’s great that onboarding keys aren’t single use so it’s easy to connect multiple servers really quickly!), and made sure they appeared under Servers in the primary machine’s UI.
2. Incrementally migrate Docker Compose files
This was the most time-consuming part of the whole process. I manually combed through the filesystems on each of my machines and found all of the docker-compose.yml files, and manually dropped them into folders in a new Git Repo.
It’s extremely important that your Git repo be private. You almost certainly have sensitive data in your Compose files and
.envfiles. Don’t accidentally make all of that public!
In my repo, each machine has its own folder, and services had their own folders inside of the machine folder that contained a single compose.yaml file (the naming that Komodo expects, though you can override it) along with any other configuration files needed for the service. It looks something like this:
(repository root)
├── local
│   └── service-folder
│       ├── compose.yaml
│       └── .env
├── cloud-one
│   └── service-folder
│       ├── compose.yaml
│       ├── other-config.yaml
│       └── .env
└── cloud-two
    └── service-folder
        ├── compose.yaml
        └── .env
I also had to modify most of my Compose files individually because their volume mappings for container data were relative instead of absolute. To keep things clean, I ended up relocating all of my container data into a single folder in my home directory on each server. For example:
volumes:
  - ./data:/var/trilium
was turned into
volumes:
  - /home/ubuntu/stackdata/trilium/data:/var/trilium
This is a little more verbose, but also more portable since it doesn’t load data dependent on the location of the Compose file.
After about an hour or so, I had successfully brought over all of my Compose files into the Git repo, pushed it to my GitHub account as a private repository, and organized my container data into the /home/ubuntu/stackdata directory.
3. Connect the Git repo to Komodo
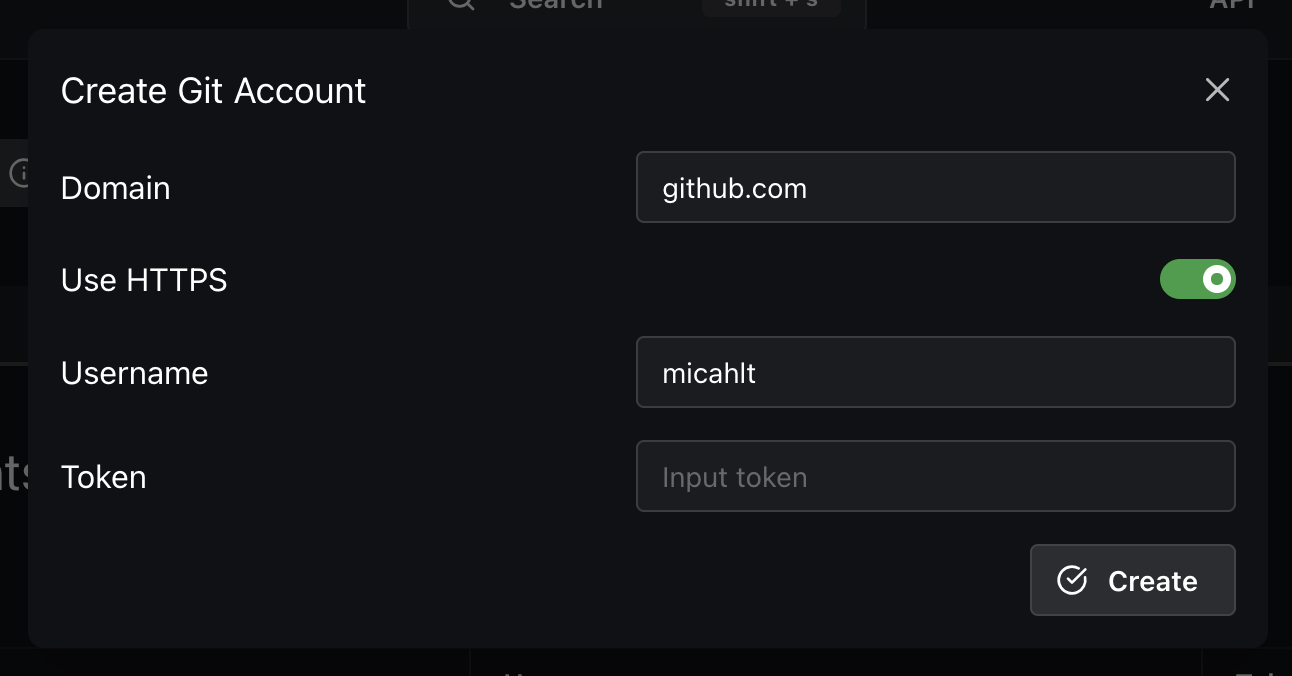
To use Git with private repositories in Komodo, you need to set up a Provider which is pretty self-explanatory and I won’t cover here. You can connect more than one repository to Komodo (for example, if you wanted to have one repository for each host instead of a monorepo like I used). There’s a nice UI for setting this up under Repos.
4. Create a Stack for each app
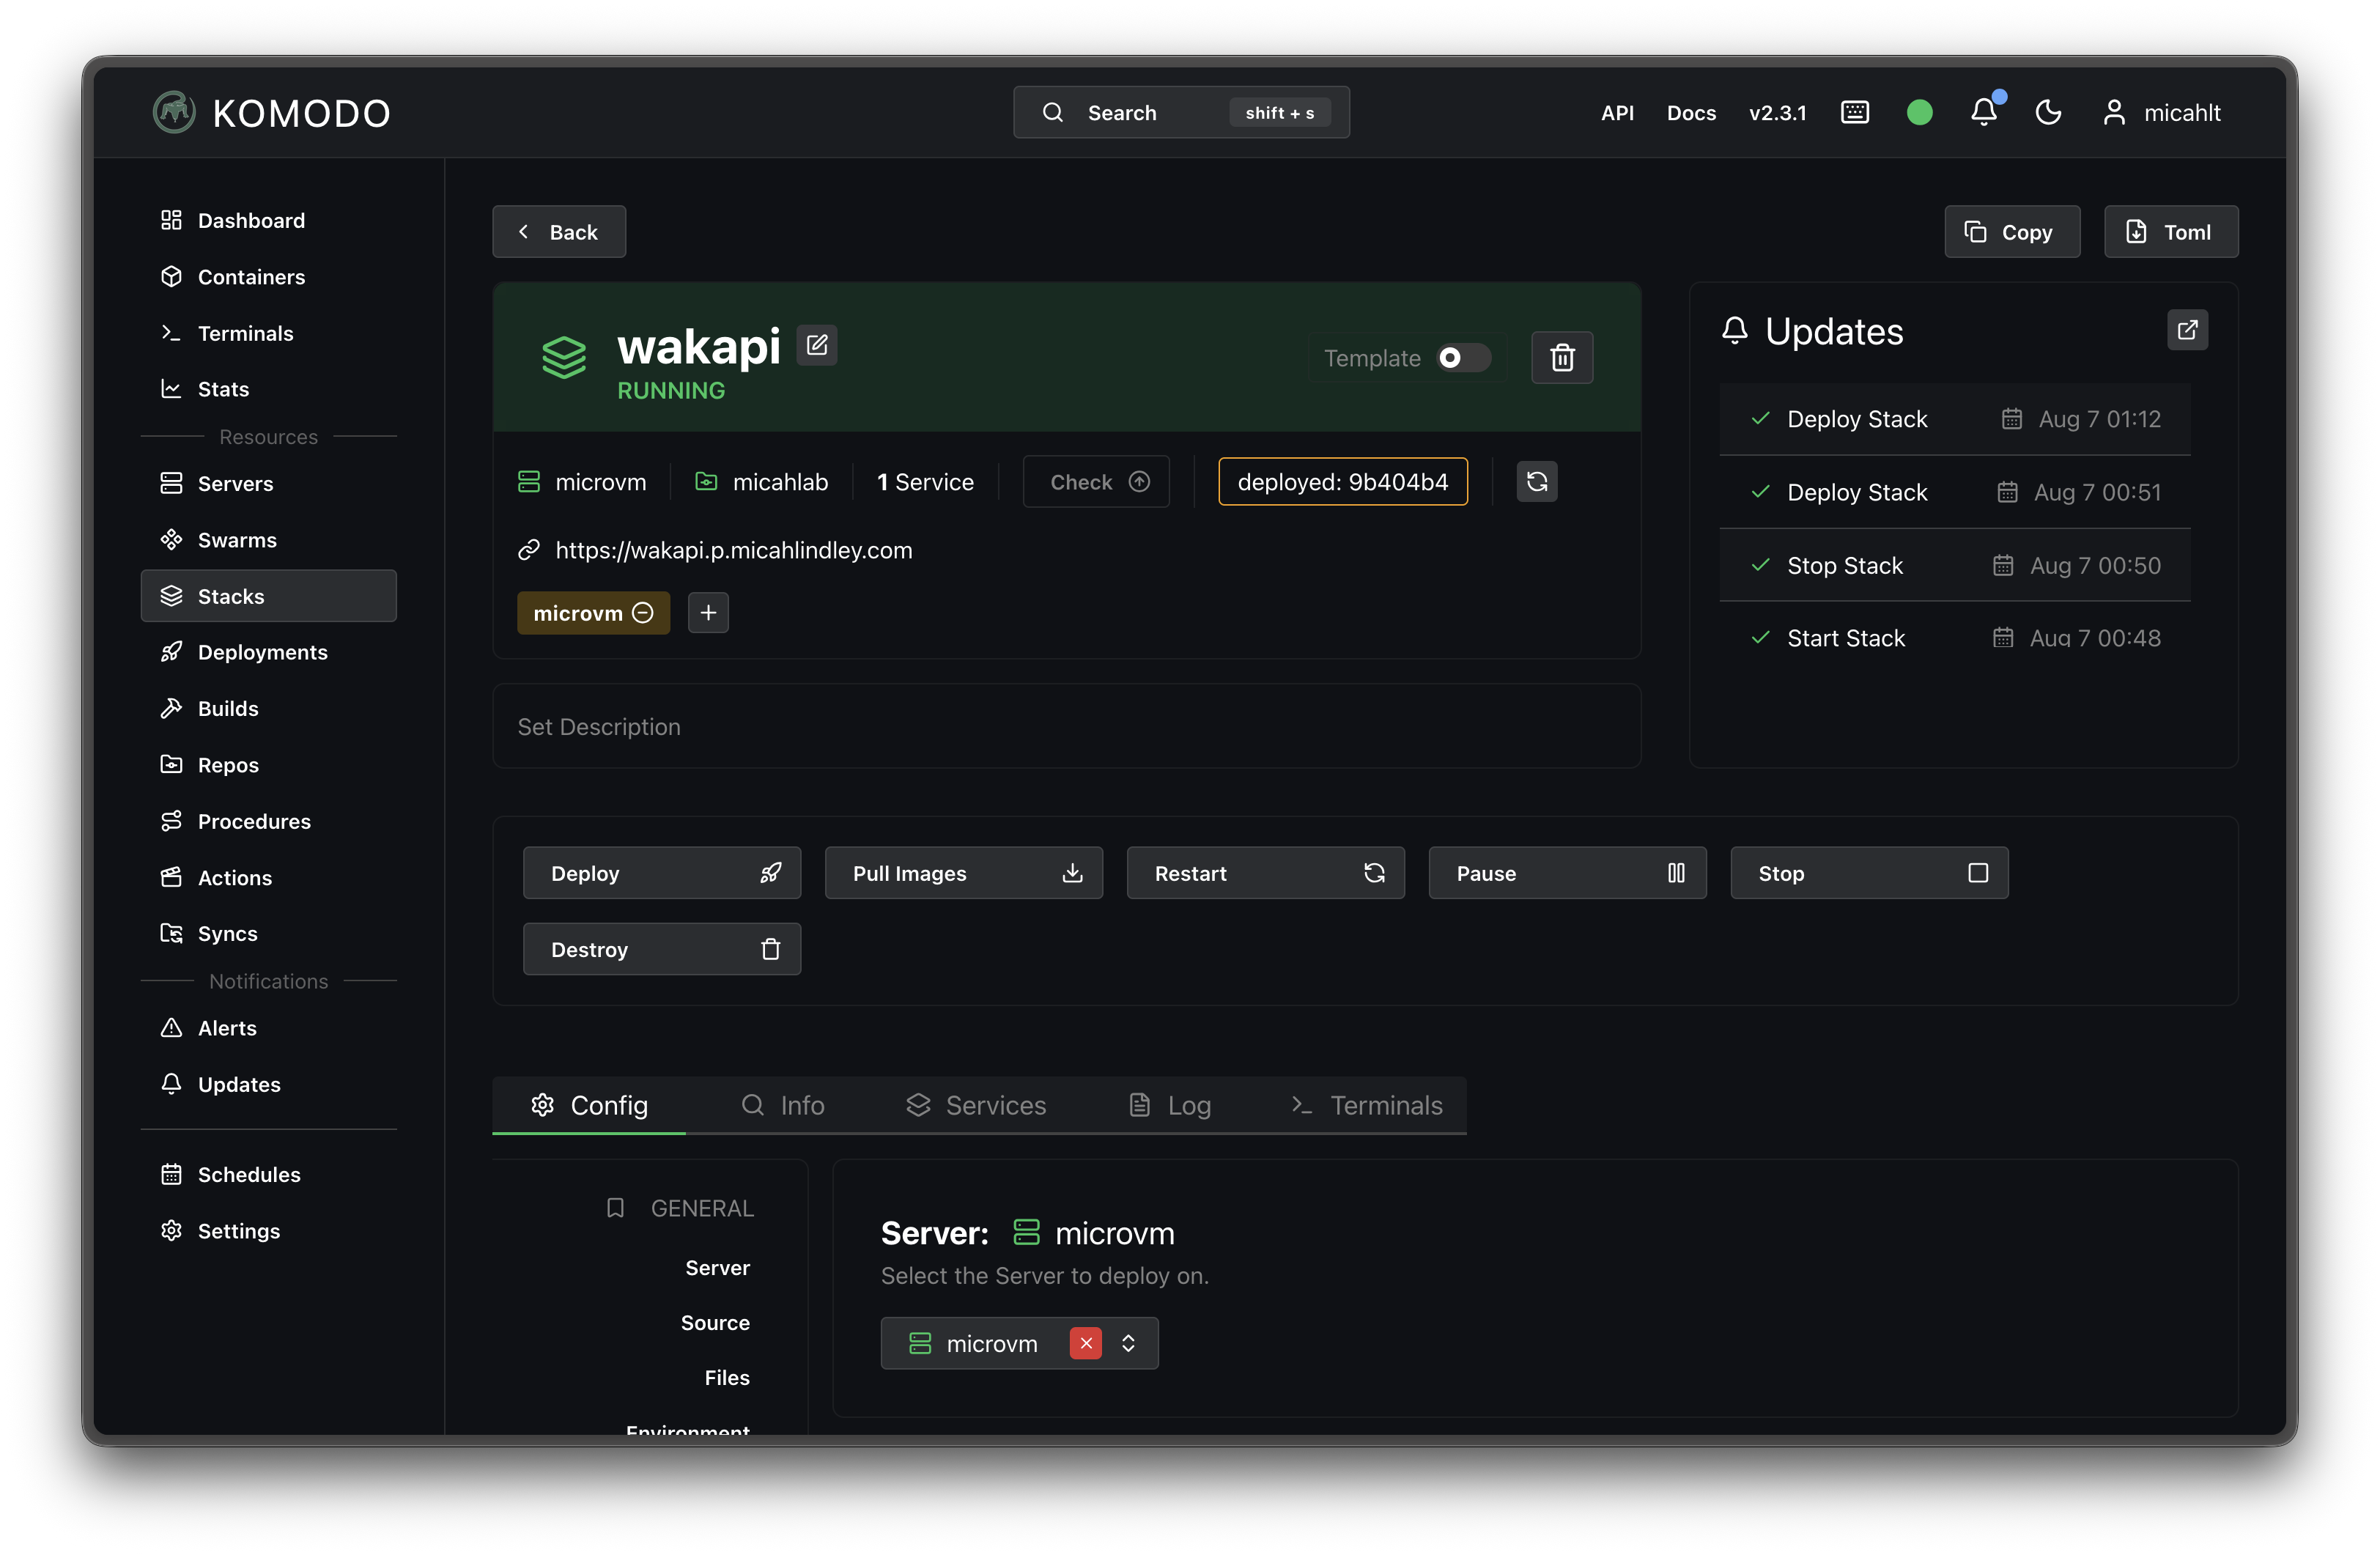
Unfortunately, Komodo doesn’t have a way (yet) to automatically discover and configure Docker Compose files. You have to use the Komodo UI to create a stack for each Docker Compose file in your repository.
Creating a stack is pretty simple, thankfully - you go to Stacks → New Stack, select Git Repo as the mode, and pick the repository you configured in the dropdown. In the Run Directory field, type the path to the service folder (e.g., local/trilium). You can add extraneous config files that should be included in the stack under the Config Files section. Pretty much all of the other settings are at your discretion.
5. Create a Sync
This ties it all together, and is the coolest part of all. Syncs store a .toml file in a Git repository that defines your Komodo setup. Combining the .toml file and the compose.yaml files in one repository grants you a single source of truth for your entire homelab setup, across all of your hosts. You do have to create the .toml file first - I like to do one .toml file in the root of the repository named for each server. For example, cloud-one.toml. Go to Syncs → New Sync, select Git Repo as the mode, type the path to the .toml file you created, and turn on the switches for Delete Unmatched Resources and Managed. Then turn on Sync Resources, and you’re good to go - clicking the Refresh button at the top of that Resource page will detect all of your stacks and allow you to Commit the configuration for them to the Git repository.
If you’re like me and want to separate your
.tomlfile by host, you can do so by adding Tags to each stack depending on the server, and then selecting Match Tags in the Sync settings.
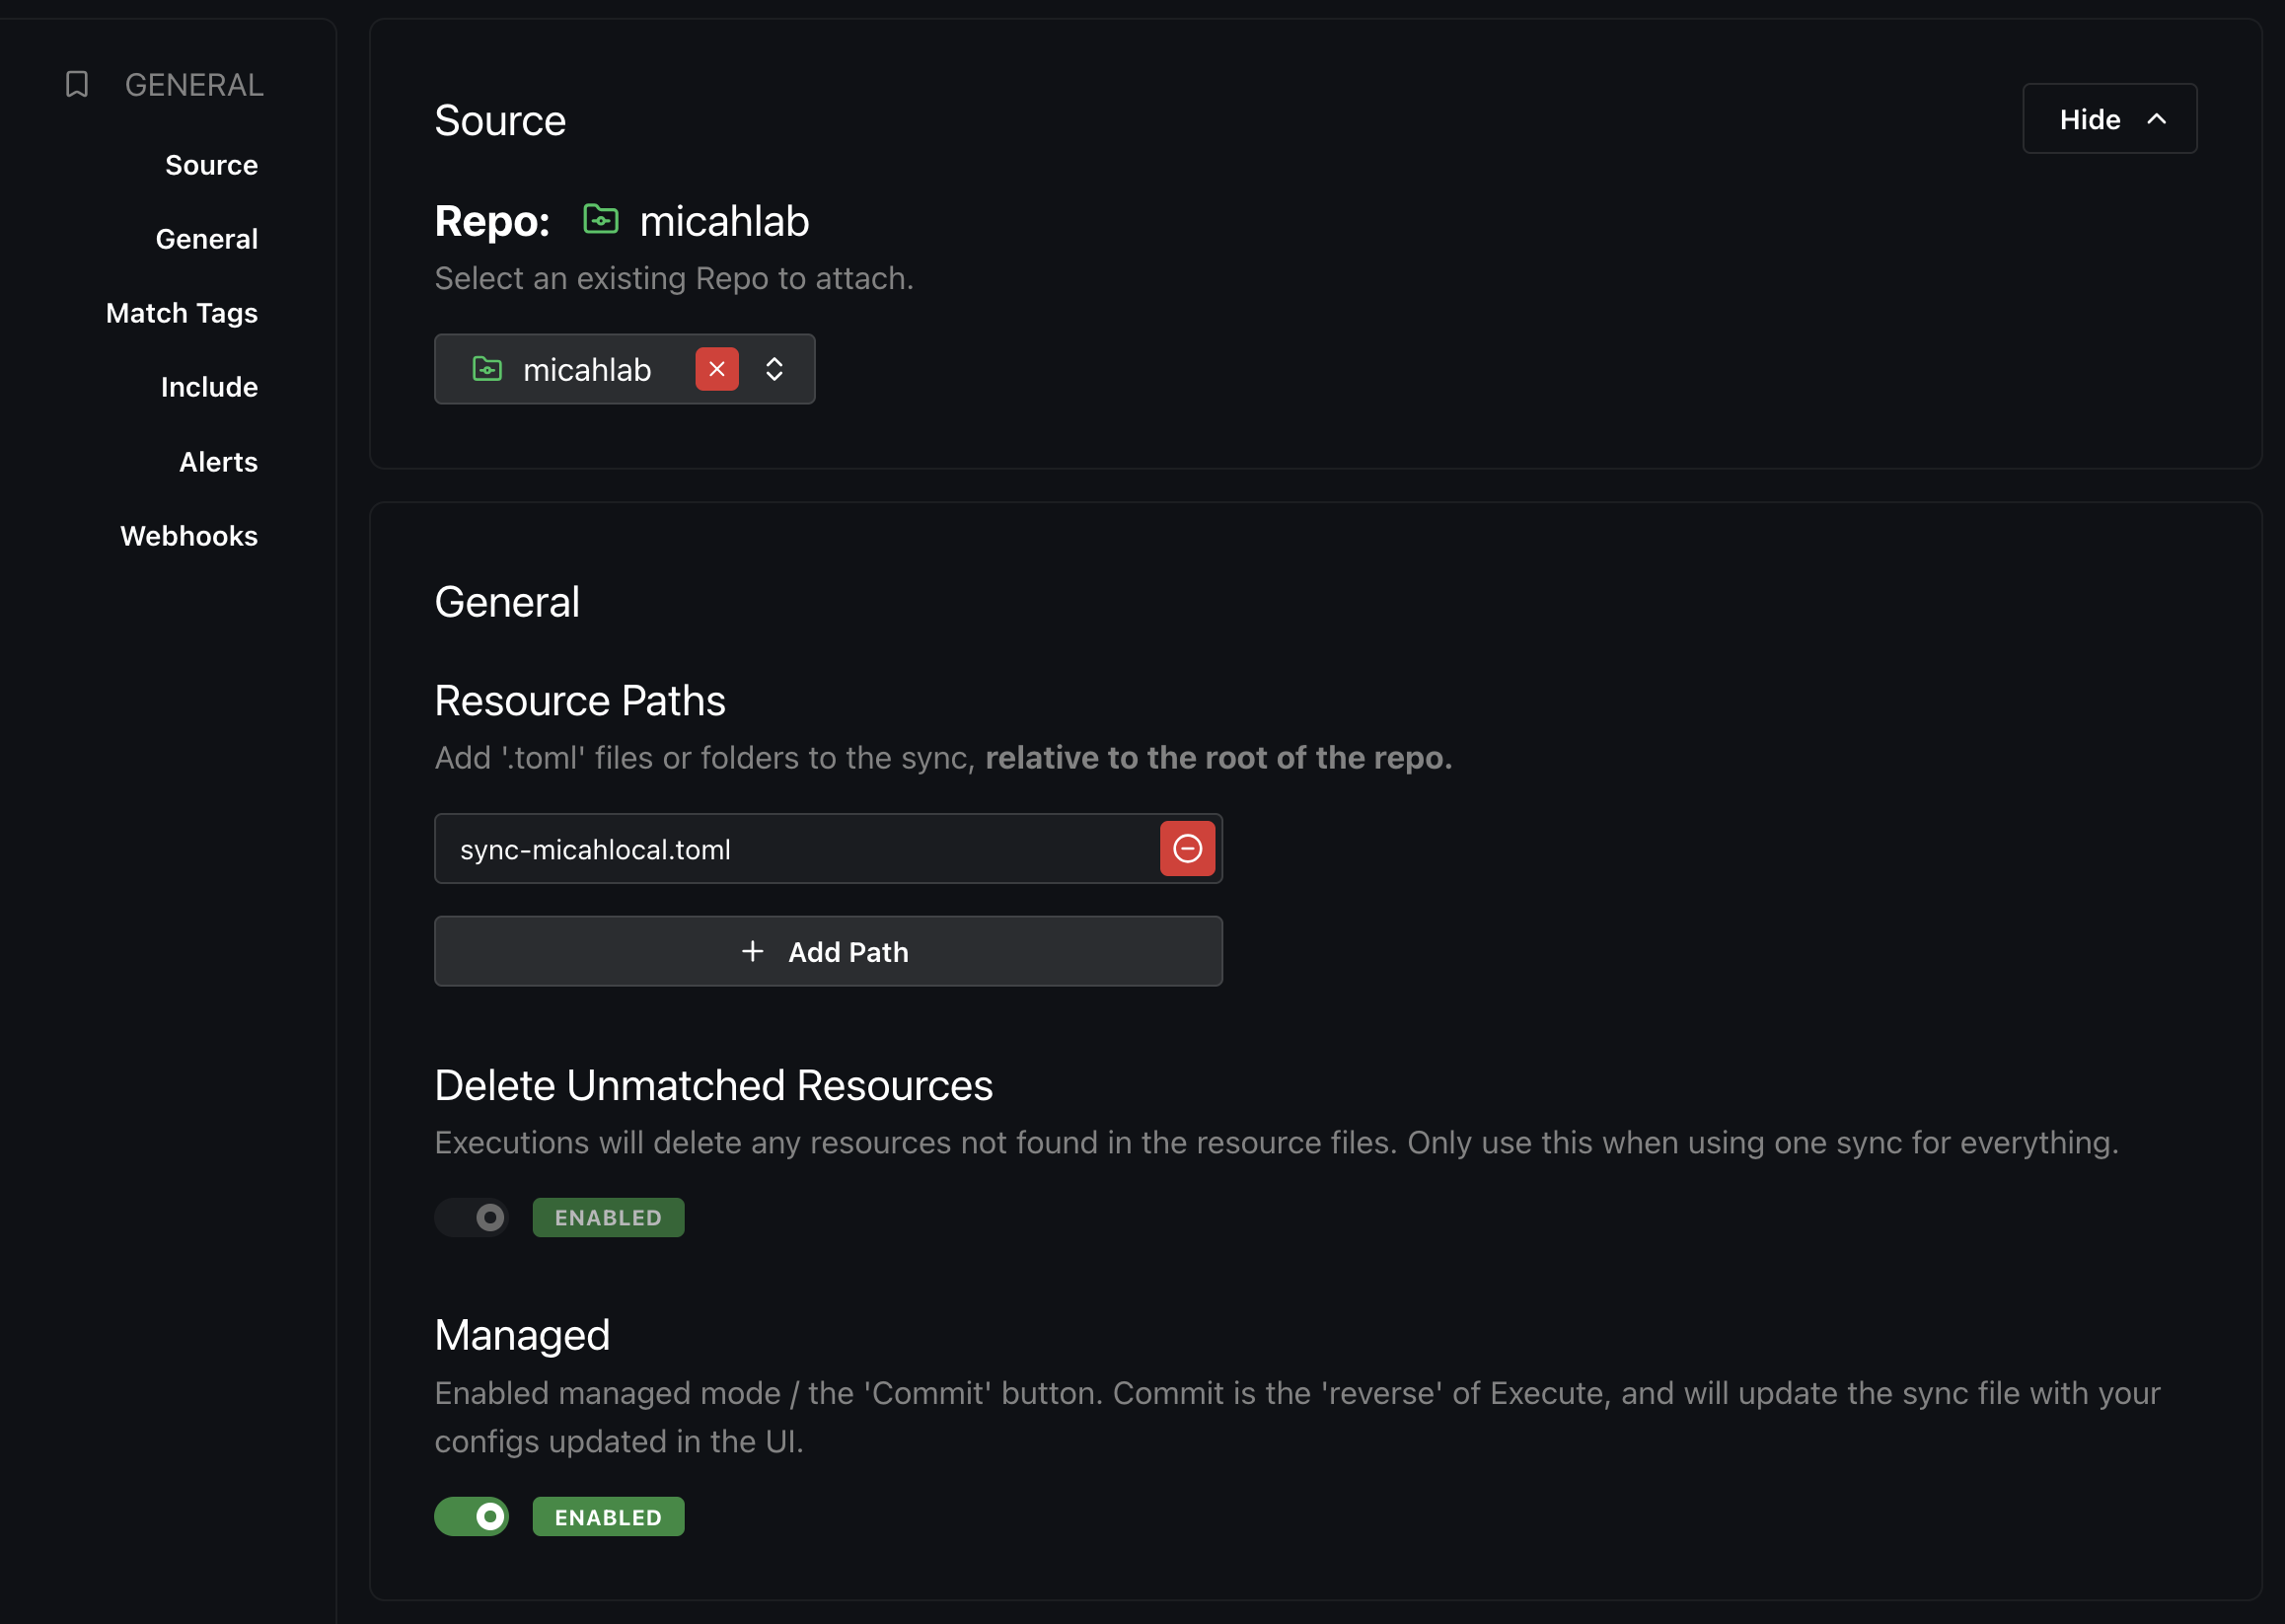
What is committing or executing a Resource Sync?
Think of these as git pull or git push-ing your setup configuration from the connected repository. Commit takes all of the changes that you’ve made to your Stacks and other Resources in the Komodo UI, and then writes those to your Git repo. Execute does the opposite: it erases all changes that you’ve made in the UI and replaces them with the current config that you’ve got in the Git repo.
The benefits of Komodo for backup and CI
Komodo has been a massive boost to my productivity in maintaining my homelab. It grants a lot of observability to my setup, and makes simple tasks like updating and restarting containers a whole lot easier. It also gives me peace of mind that I can easily re-create my setup should something go wrong. I held off on this level of organization for a long time, and I regret it a lot. If I were starting my self-hosting journey from scratch, I’d start out with Komodo in the first place.